Compiling and Running Assembly Code Using NASM & WSL on Windows

In this blog post, we will discuss how to compile and run assembly code using NASM in VS Code on Windows WSL.
What is WSL?
Windows Subsystem for Linux (WSL) is a Windows in-built feature that lets developers run a GNU/Linux environment -- including most command-line tools, utilities, and applications -- directly on Windows, unmodified, without the burden of a traditional virtual machine or dual-boot setup.
Steps to Compile and Run Assembly Code
- Install WSL (Windows Subsystem for Linux):
- On your Desktop, press [Win]+[R]
- Type "PowerShell" and press [Ctrl]+[Shift]+[Enter]
-
Follow the instructions to install WSL
- Type this command and press Enter.
$ wsl --install
-
Select [Yes] when prompted.

- Type this command and press Enter.

- Restart your computer.
-
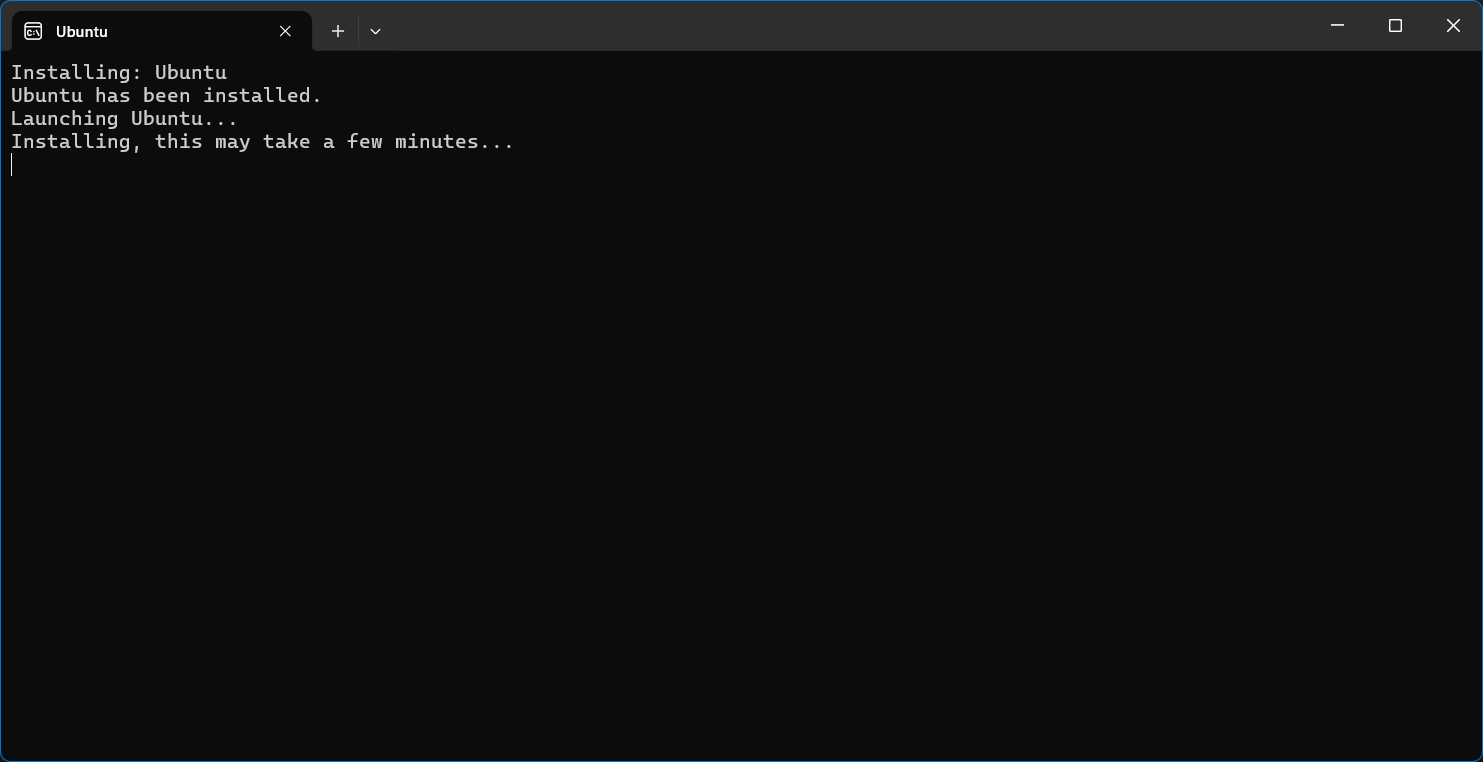
After restart, this should appear [if it doesn't then open Ubuntu using search]
-
Setup your user-account.


- Close any previously opened window
-
Search for Ubuntu and open it

- Type this command and press Enter.
$ sudo apt update - Enter your password when prompted.
- Type this command and press Enter.
$ sudo apt install nasm
- Also install this package
$ sudo apt install gcc
- It's time to write your assembly code and test if it works on your machine. [WSL is a CLI so we'll use `nano` instead of `gedit`]
-
Create a text file with a `.asm` extension (e.g., `hello.asm`).

- Use nano editor to write your assembly code.
-

-
Here's the sample code:
section .data
        message db 'Hello, world!', 13, 10

section .text
        global _start

_start:
        ; Print the message to stdout
        mov eax, 4          ; system call number for sys_write
        mov ebx, 1          ; file descriptor for stdout
        mov ecx, message    ; address of the message
        mov edx, 15         ; length of the message
        int 0x80            ; call kernel

        ; Exit the program
        mov eax, 1          ; system call number for sys_exit
        xor ebx, ebx        ; return code 0
        int 0x80            ; call kernel
you can also try these other samples [get them from here and here].
-
Copy and paste the sample code

-
Press [Ctrl]+[O] and then [Enter] to save the file.

- Press [Ctrl]+[X] to exit nano editor.
-
- Navigate to the directory containing your assembly file.
- Use the following command to assemble the code:
$ nasm -f elf64 hello.asm -o hello.o

- Use this command to link the object file.
$ ld hello.o -o hello

- Use this command
$ ./hello

- Use this command
$ exit
VS Code Setup
If you are using VS Code, you can use the following steps to set up WSL in it.
- Before proceeding, make sure you have followed the steps to install WSL and have successfully compiled and run assembly code in WSL terminal.
- Install these 3 extensions from VS Code Extensions Marketplace:

- Open the VS Code Settings [Ctrl] + [,]
- Click on Open Settings (JSON) in top right corner.

- Add the following code inside the main curly braces along with other field value pairs to the settings.json file
above other field value pairs:
"code-runner.executorMapByFileExtension": {

  ".asm": "nasm -f elf64 $fileName && ld $fileNameWithoutExt.o -o $fileNameWithoutExt && ./$fileNameWithoutExt",
},
"code-runner.fileDirectoryAsCwd": true,
"code-runner.runInTerminal": true,
"code-runner.saveFileBeforeRun": true,
- Now close these settings, and click on Open a Remote Window in the bottom left corner.

- Click on "Connect to WSL" [and optionally select the distro you want to use.]
- Wait for the WSL environment to be set up. [This is a one-time process]
- WSL will start opening in a new window.

- WSL Server will start downloading

- After download and installation is complete, a welcome page will open in a new window.

- WSL will start opening in a new window.
- In Extensions, in Code-Runner, click on "Install in WSL" button.

- In Explorer,
- Click on the Open Folder button.

- Select "code" folder.

- Now click on OK.

- Click on the Open Folder button.
- When a pop-up appears, currently its safe to click on "Yes, I trust the authors"

- Now again in Explorer,
- Click on the "hello.asm" file

- The code will be visible in its full glory. You can also try with other code samples too.

- Click on the "hello.asm" file
- and then click on Run button in top right corner.

- You should see the output in the terminal. Try with other code samples too.

- Exiting WSL in VS Code
- Click on the WSL: Ubuntu in bottom left corner.

- Click on "Close Remote Connection".

Conclusion
Compiling and running assembly code in VS Code on Windows can be a bit challenging, but it is a rewarding experience. With a little practice, you will be able to write and debug assembly code like a pro.
In this blog post, we have discussed how to compile and run assembly code using NASM in VS Code on Windows.
Additional Resources
- Windows Subsystem for Linux Microsoft Store Link
- Ubuntu WSL Microsoft Store Link
- Microsoft WSL Guide
- WSL Uninstallation Guide
- CPU-OS Simulator
WSL Uninstallation / Modification Process
-
Removing a specific distro
- Open Powershell in Administrator Mode [like in WSL installation process]
- Type this command and press Enter
$ wsl --list - Select the distro you want to remove
- Type this command and press Enter
$ wsl --unregister [distro name]
-
To install a specific distro
- You can install multiple distros simultaneously, you do not need to remove the previous one to install a new one
- Open Powershell in Administrator Mode [like in WSL installation process]
-
To list the available distro, type this command and press Enter
$ wsl --list --online - Select the distro you want to install
-
Type this command and press Enter
$ wsl --install [distro name]
- To remove all distros
- Open Powershell in Administrator Mode [like in WSL installation process]
- Type this command and press Enter
$ wsl --unregister --all - Type this command and press Enter
$ wsl --uninstall
I hope this blog post has been helpful. If you have any questions, please feel free to leave a comment below.
- Click on the WSL: Ubuntu in bottom left corner.


Comments
Post a Comment